|
|
|||
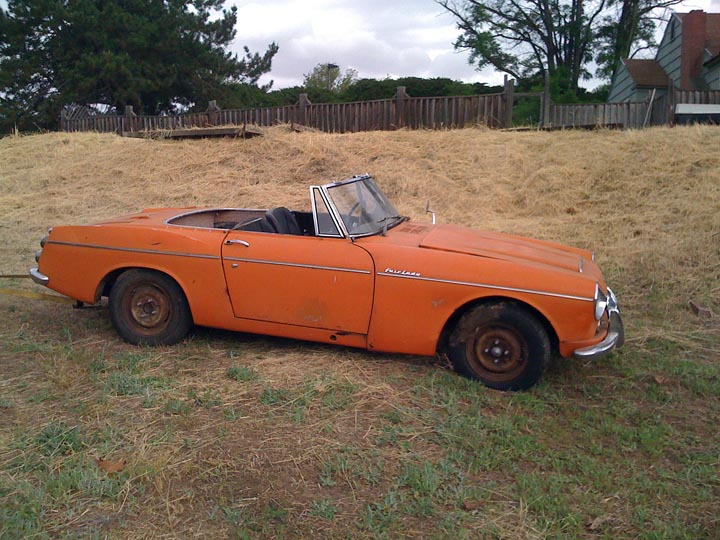
| The car: 1964 Datsun SPL310 Fairlady 1500, aka a Roadster.
I will keep pictures on this page, and a running dialog of things I've done to the car here: Progress |
 |
|||
| These first two pictures are of the car just after I bought it, and it's being pulled out of its old home. | 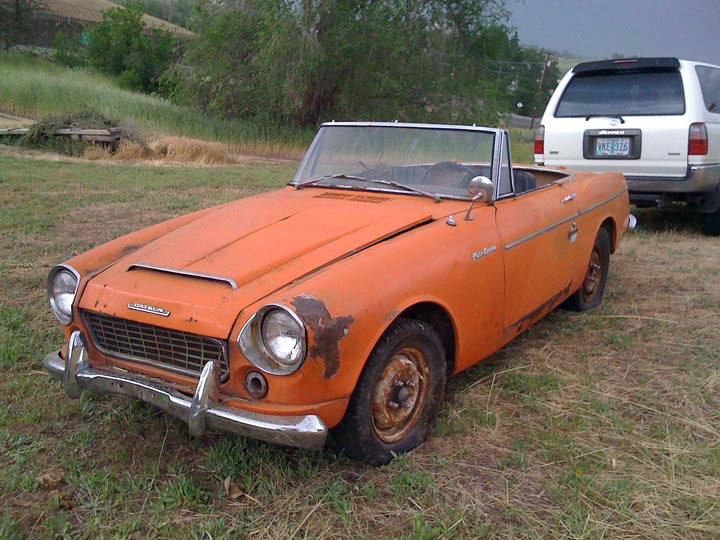 |
|||
| A friend of mine was able to borrow a flat-bed equipment trailer to haul it the 20 miles to my shop. It was storming outside nicely. Hopefully not a bad omen. | 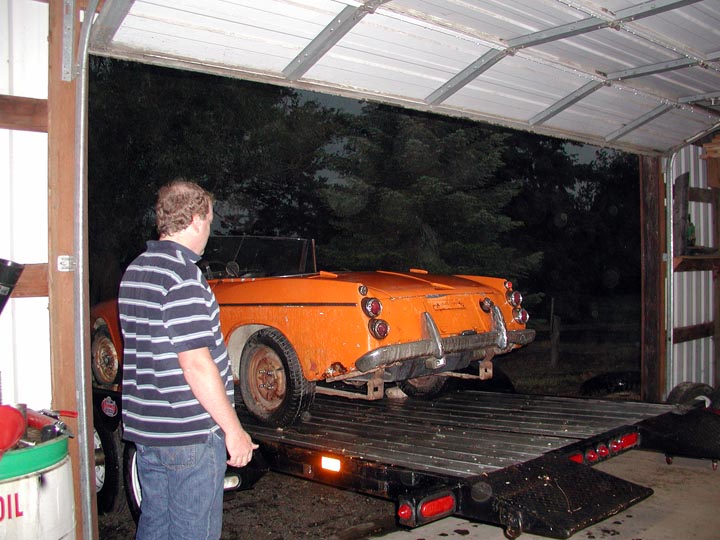 |
|||
| The...erm...interior. | 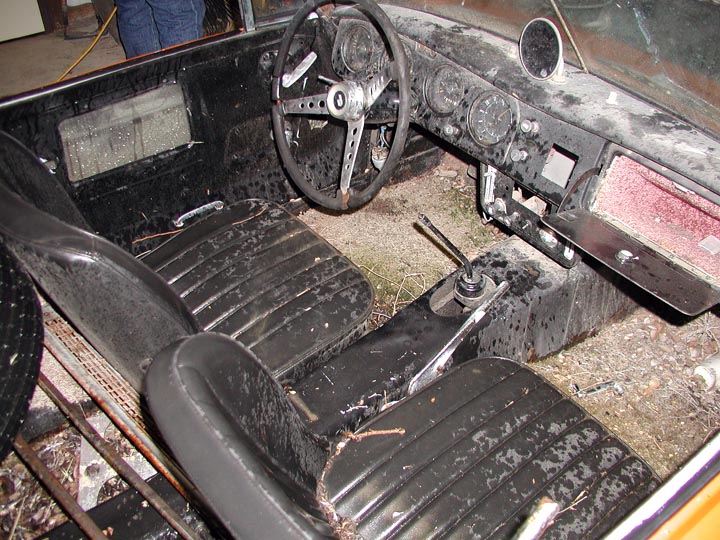 |
|||
| After tearing out the carpet (cheap indoor carpet that had been glued down), and a quick vacuum, the interior looked like this. Pretty grim. Two plates had been welded in where the seats went, obviously to cover over serious rust damage. | 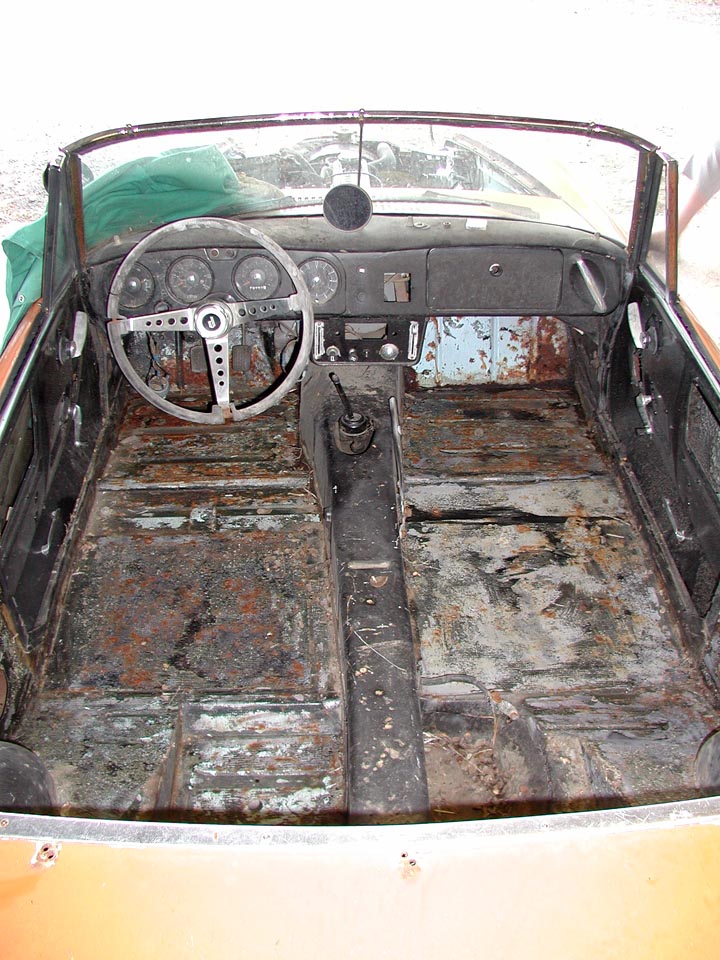 |
|||
| The front-right corner lookd pretty good. | 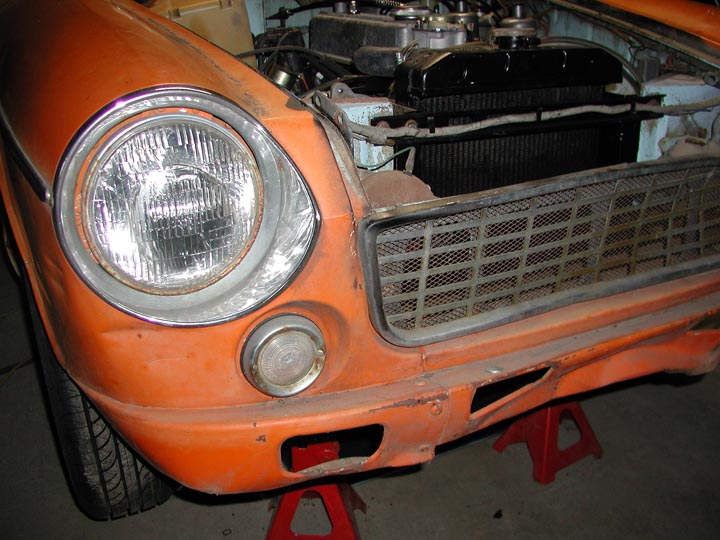 |
|||
| The front-left, not so much. The damage had been repaired once already, and hit again. | 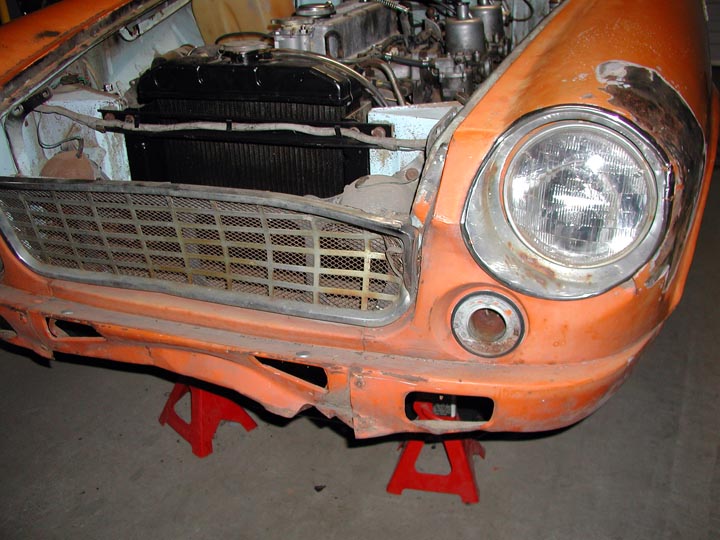 |
|||
| The left rear quarter-panel was rusted out. That orange wire is one of the electrical system grounding wires. This car still sports the origional positive-ground electrical system. | 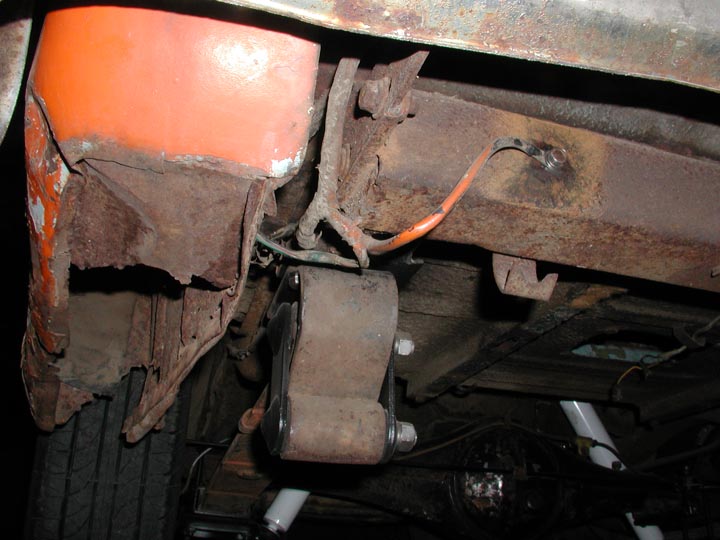 |
|||
| First look at the engine. No air cleaners were on the carbs so I was worried about what I might find. | 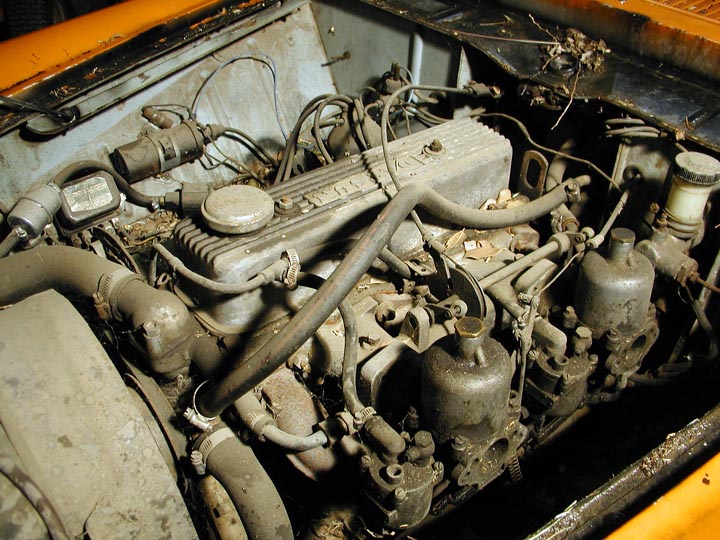 |
|||
| The right side of the engine bay. Note the non-stock oil guage that was bouncing around. The distributor has the fairly rare OEM rubber boot on the wires. | 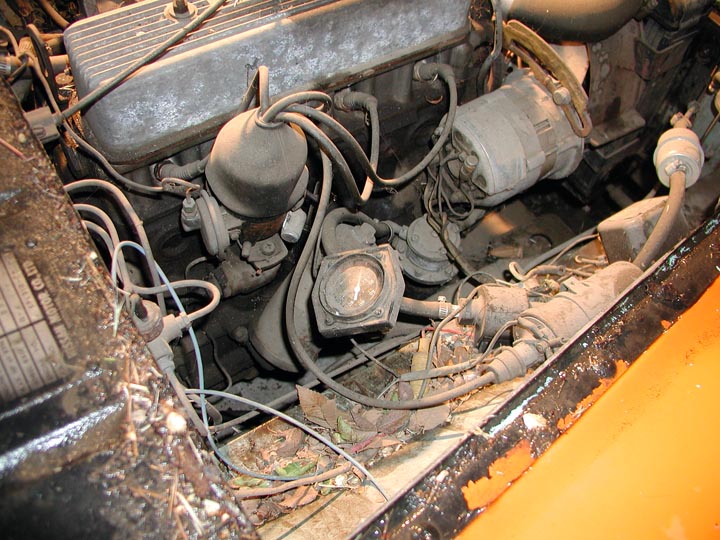 |
|||
| After pulling the SU-Hitachi carbs off, the engine bay got a good cleaning. | 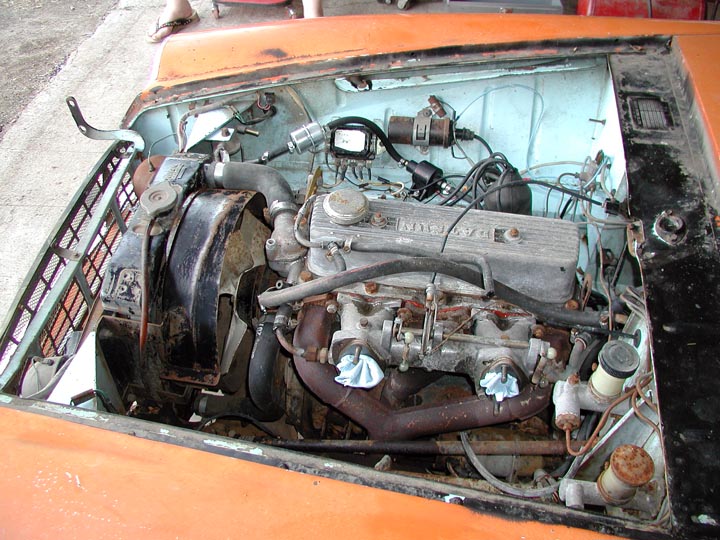 |
|||
| My friendly neighbor John drew my attention to an interesting gray patch on the side of the block. That would later turn out to be a crack that had been repaired. Essentially, that block is junk which is disappointing because it had matching numbers on the VIN tag. |  |
|||
| Before and after picture of the carbs during cleaning. This early set of SU's had a monkey-motion linkage set up for the choke system. Amazingly enough, the engine started up and ran after a good cleaning. Sadly, there was a huge oil leak out around the clutch. The engine would have to come out! | 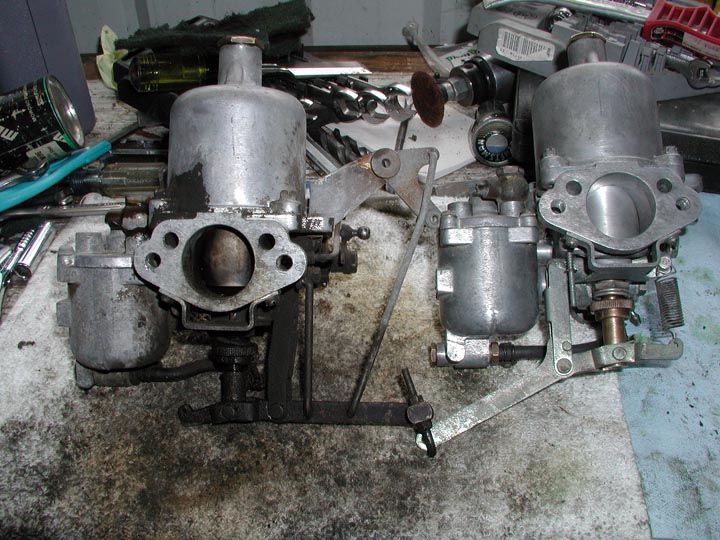 |
|||
| Engine bay during preperations to pull the engine. | 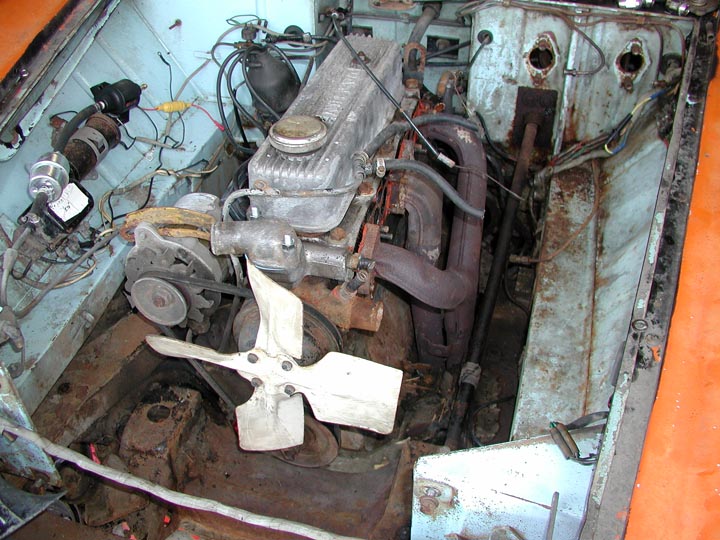 |
|||
| A loose radiator support bracket. That will be fixed at the radiator shop, along with a thorough cleaning. |  |
|||
| The engine bay sans old tired engine. I sourced a replacement from Mike Young at Datsun Sports along with a 5-speed transmission and other bits and pieces. If you need parts, he's your man! |  |
|||
| With the transmission removed, the pressure plate is visible. Doesn't look good. |  |
|||
| No, this car wasn't originally equipped with an oil bath clutch. The clutch is worthless now. | 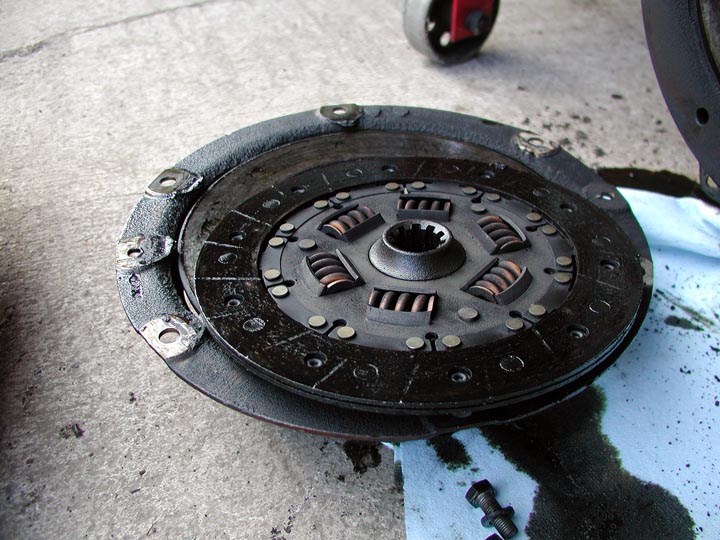 |
|||
| After pulling the oil pan to look for the oil leak, I found this. | 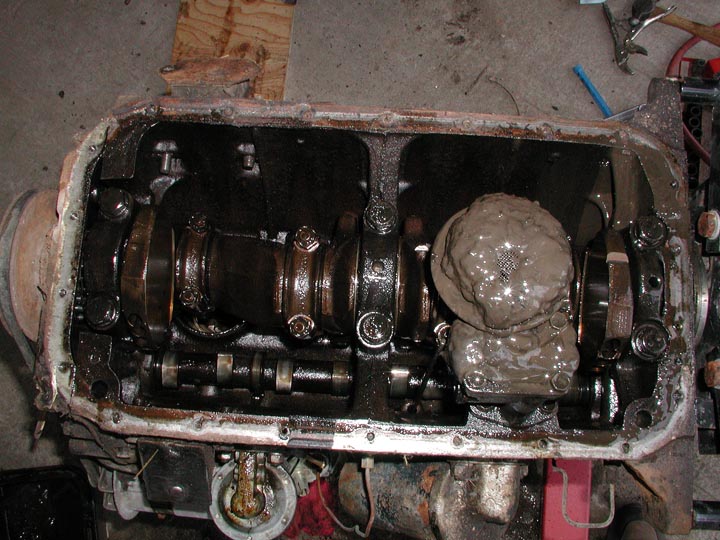 |
|||
| And this. | 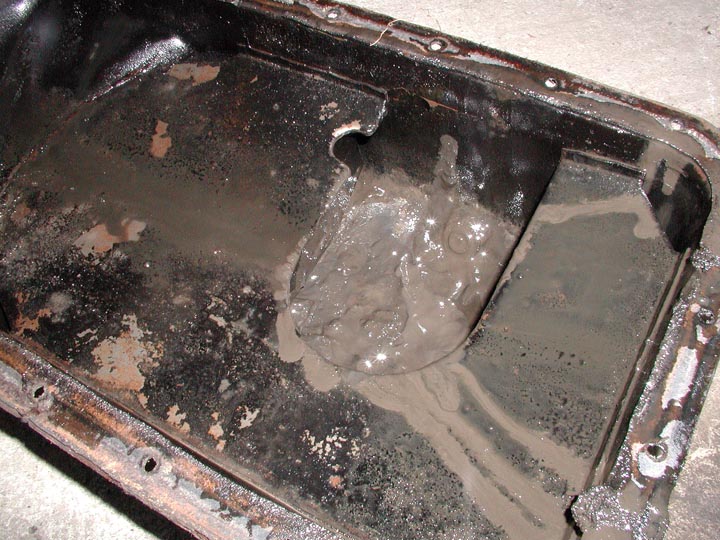 |
|||
| And this. In my haste to fire up the engine, I didn't give the engine an oil change. Either way, that wouldn't change the fact that the engine leaked and had a cracked block. The oil leak was probably from having no PCV system installed so the engine was completely sealed. |  |
|||
| the block with the crank removed. The rod bearings are toast, as are the crank bearings. | 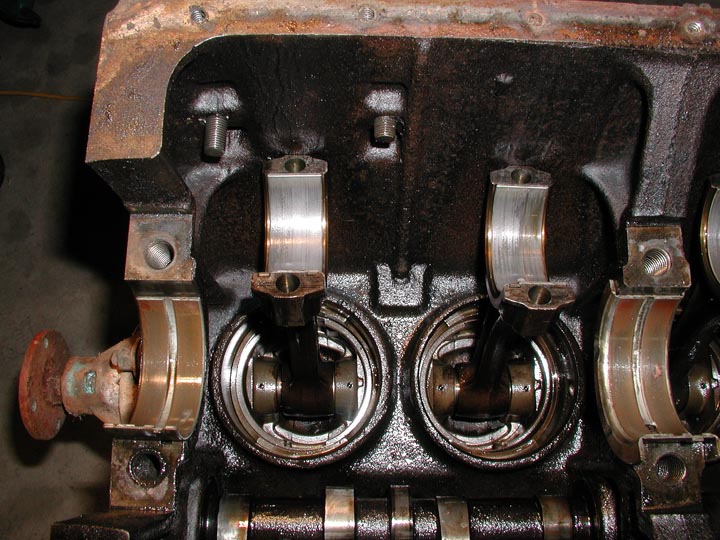 |
|||
| A picture of one of the bearing shells. The engine has obviously had a long hard life. | 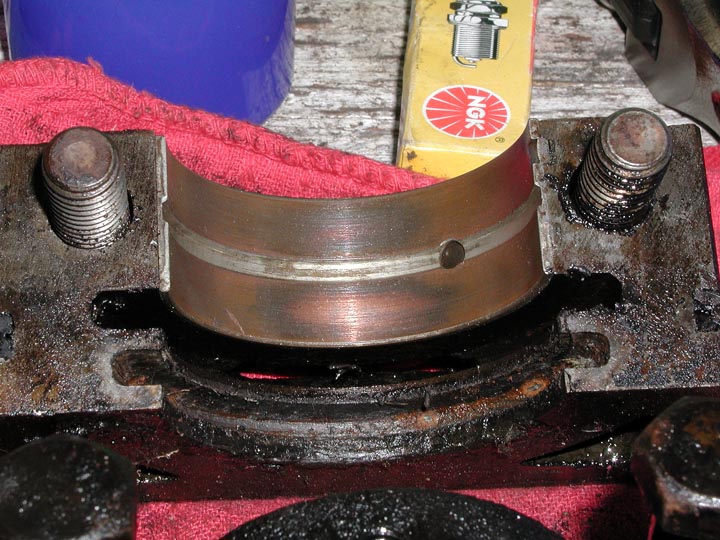 |
|||
| Scoring on the crank. The rough corrosion on the sealing surface at the bottom of the picture certainly didn't help the rear main rope seals. |  |
|||
| Switching to the fuel tank, we siphoned this out of it. Notice the steady stream of rust particles. What you can't see is where the fluid changed colors. What was once gas had seperated into two layers in the tank. Nasty. It stunk too. | 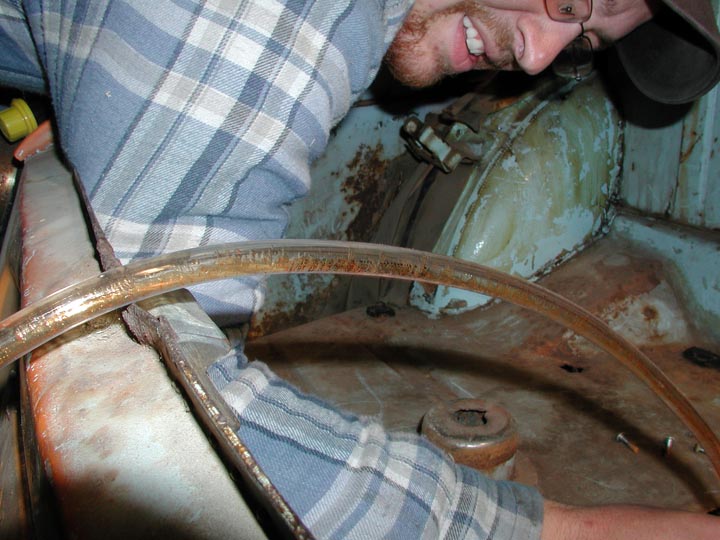 |
|||
| The tank bottom had been repaired before. I stopped counting at twelve patches. The tank will be replaced. | 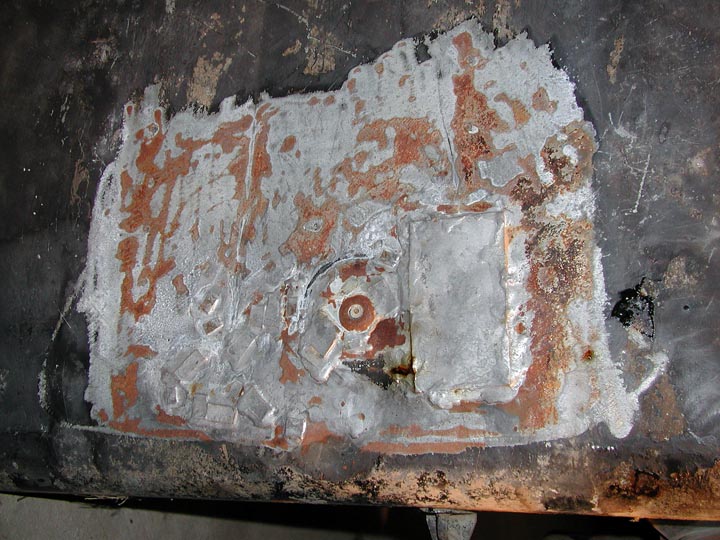 |
|||
| The plate that covers the fuel guage sender on the tank had all of its screws broken off by a previous owner/mechanic. Using metal tabs and a MIG welder, I was able to pull the broken parts out. Ran a quick tap through the holes and they were good to go. | 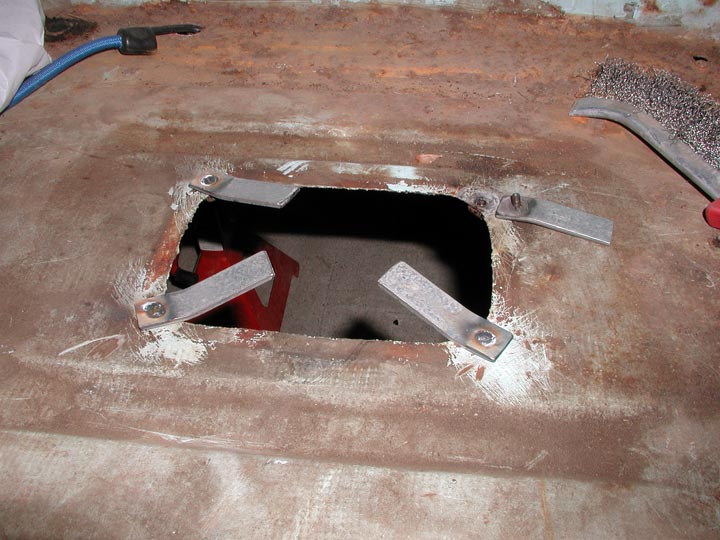 |
|||
| The fuel tank is held in with a pair of steel straps and j-bolts on one end. For some reason, a PO drilled holes through the trunk floor and used bolts to hold the straps on. I fabricated a new pair of j-bolts out of regular bolts. | 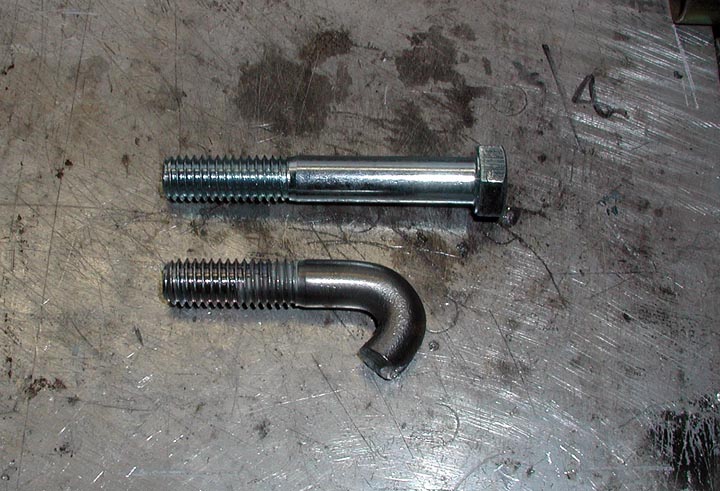 |
|||
| The new/used engine I picked up from Mike in July was in good condition. The only issue was corrosion in the thermostat housing area. I pulled the oil pan and checked bearings. They were in immaculate shape. Finally some good news! I'll run the engine until I get the valves done and will repair the housing then. | 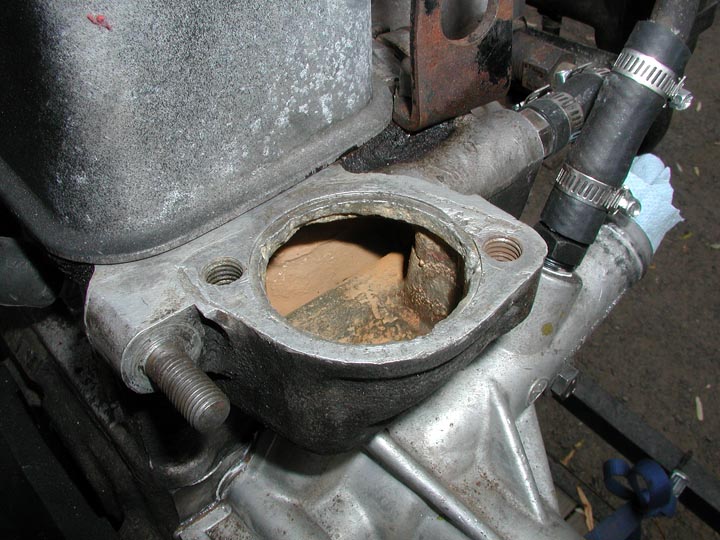 |
|||
| I decided NOT to pull the engine apart anymore, and try to make some forward progress. I cleaned up the fan, pulleys, oil pan, put things back together and decided to drop it back in the car. It may get a rebuild in the near future, depends on how she runs. | 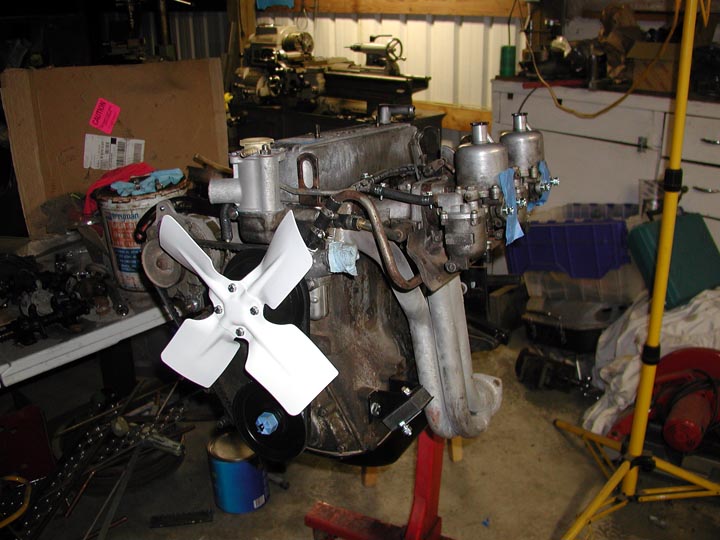 |
|||
| The new/used clutch and pressure plate installed. | 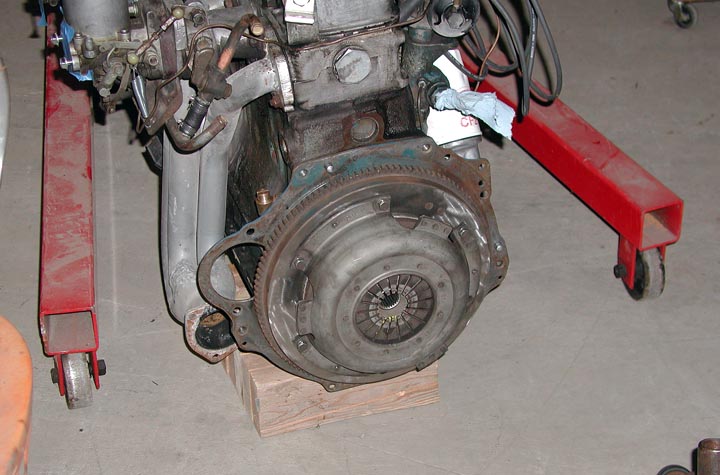 |
|||
| The engine on the engine hoist with clutch, transmission, and starter reinstalled. | 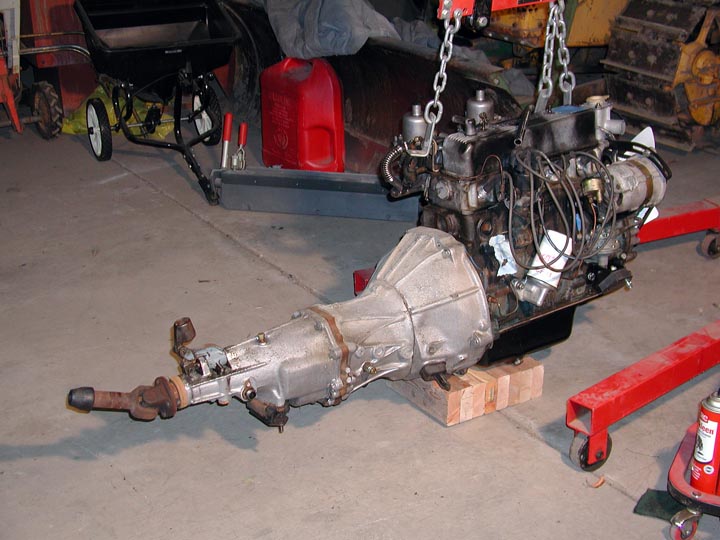 |
|||
| Fire in the hole! John is in the background guiding the engine hoist in. |  |
|||
| John running the hoist while I guide the engine. | 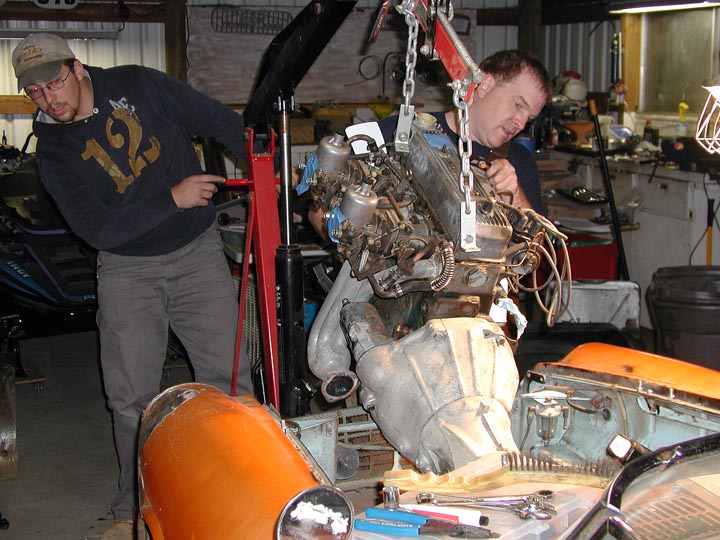 |
|||
| Wiggling the engine a bit to get the engine mount bolts to line up. | 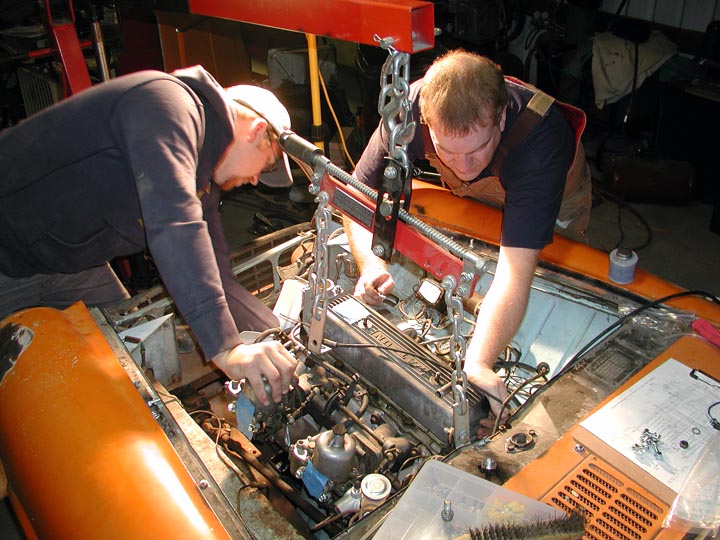 |
|||
| The engine sitting in its new home. | 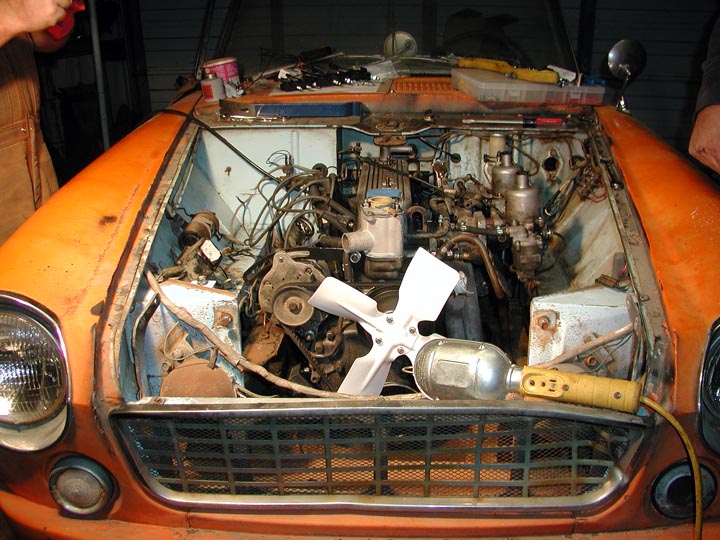 |
|||
| I decided to go with a late model 5 speed transmission vs. a 4 speed to help things out on the highway. That caused a few problems. The transmission mount had to be dropped a bit and a hole had to be cut in the side of the transmission tunnel to clear the 90deg speedometer drive assembly. I will cover that with a nice sheetmetal box that will blend in with the interior. Note the professional oil guage install where the ashtray should be. Fabulous. | ||||
| Technically, before the engine went in, I tackled the brake system. It needed a complete rebuild. I wasn't able to bleed the brakes which is good as the hose in this picture started to leak when I tried. It would have blown under normal brake pressure. | 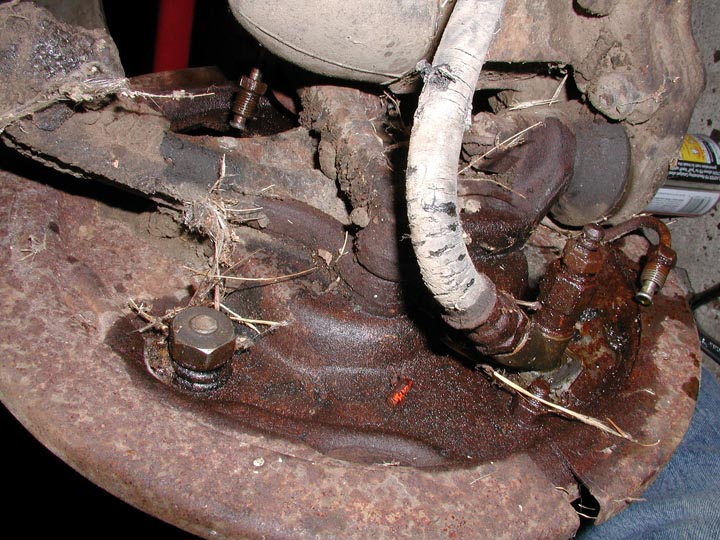 |
|||
| The front brakes. This car has drum brakes all around. |  |
|||
| Rear brakes. Notice the linings sitting on top of the brake shoe. | 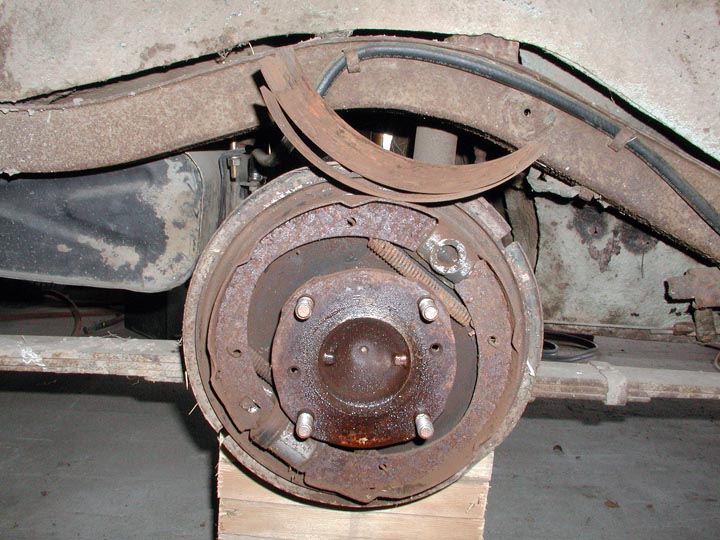 |
|||
| One of the front brake cylinders disassembled. I had to use an airhose and vice on every cylinder to get them to come apart. | 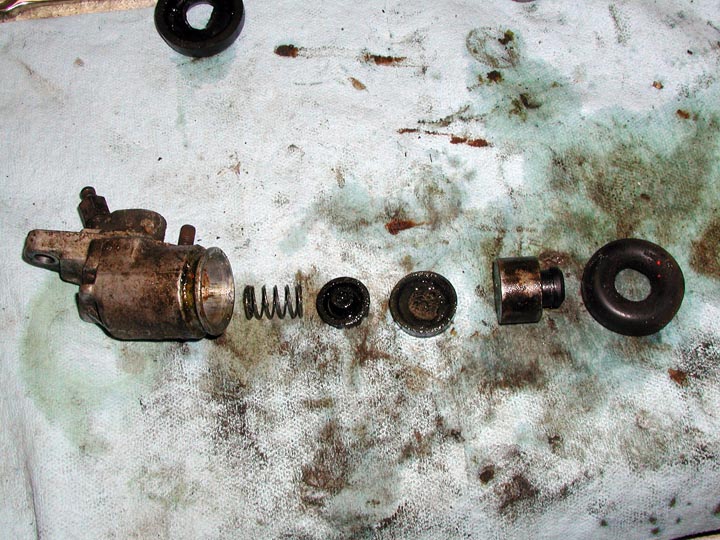 |
|||
| Rear brake cylinder. The snout on the right end of the cylinder is for the emergency brake assembly. | 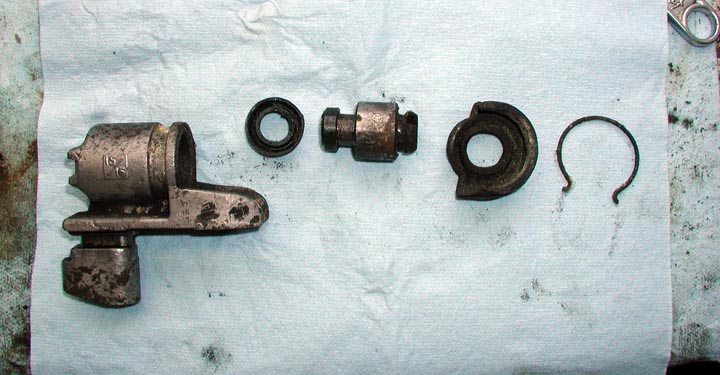 |
|||
| Brake master cylinder disassembled. | 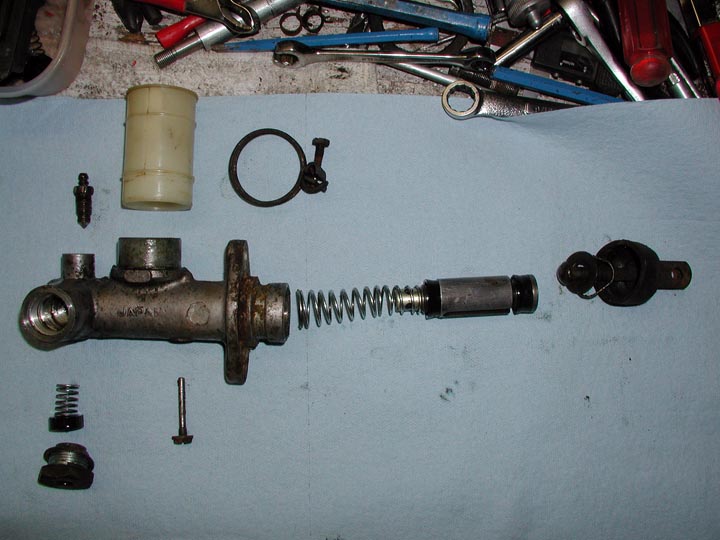 |
|||
| Clutch master cylinder. |  |
|||
| I elected to send all of the brake and clutch cylinders off to KARP'S Power Brakes in California to have stainless steel sleeves installed. They will effectively last forever in this car. Karp's did a fine job. | 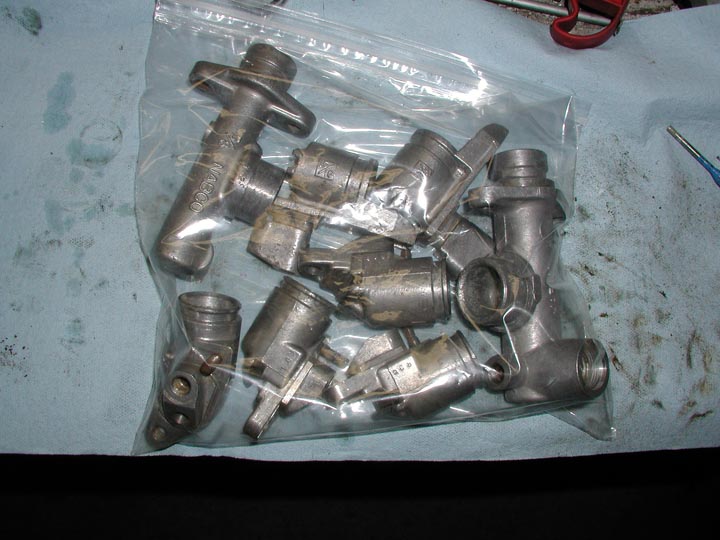 |
|||
| The clutch and brake master cylinders back from resleeving. | 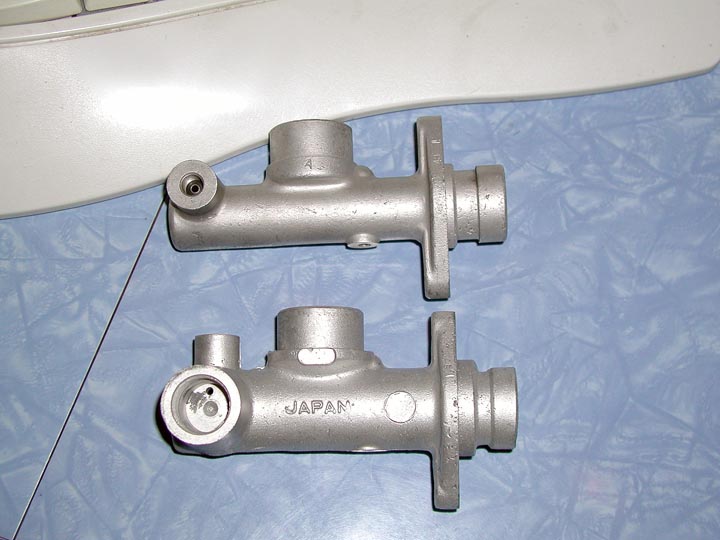 |
|||
| I elected to go with top flight Earl's Plumbing brake lines to replace all the flexible lines on the brake and clutch systems. All told, the cost was actually less than going with the OEM rubber lines. |  |
|||
| The new OEM brake parts I purchased on ebay. | 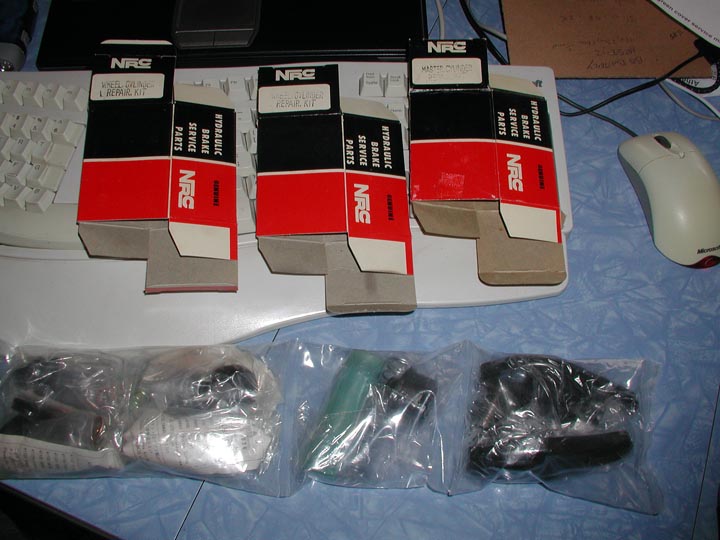 |
|||
| The front brakes all done. Sure looks nice. | 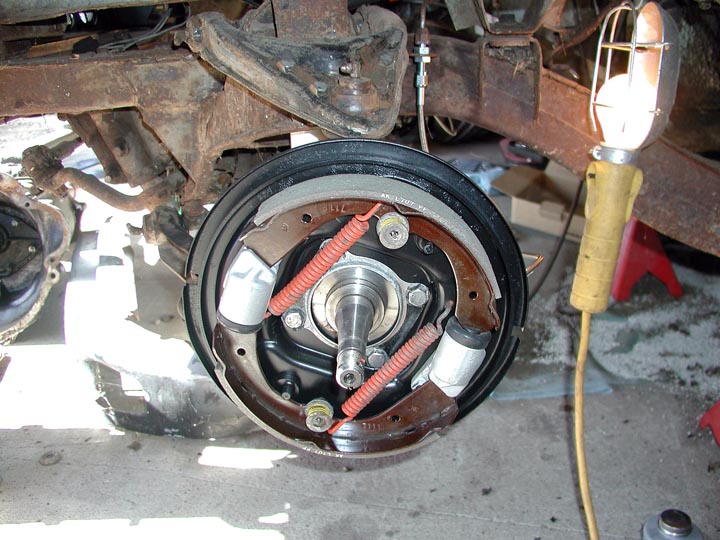 |
|||
| Another picture showing the brake line connection and SpeedBleeder. | 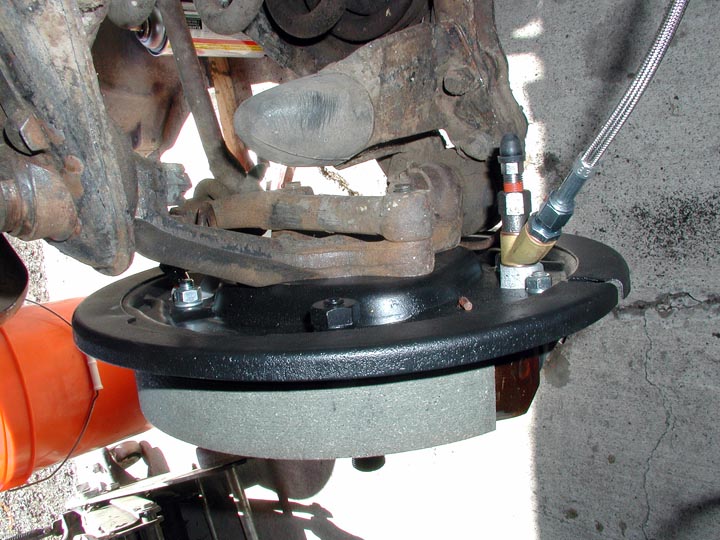 |
|||
| In the process of doing the rear brakes, I pulled the axle out, cleaned it out, installed new shocks, a good used set of leaf springs, and put it all back together. | 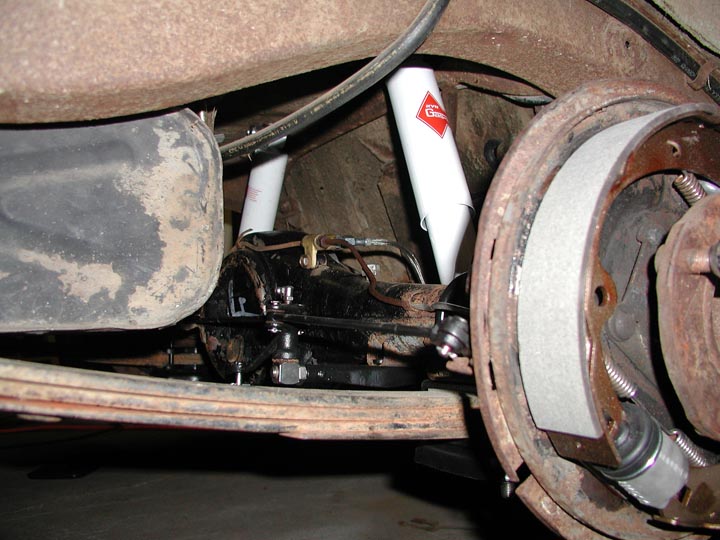 |
|||
| The emergency brake assembly before. | 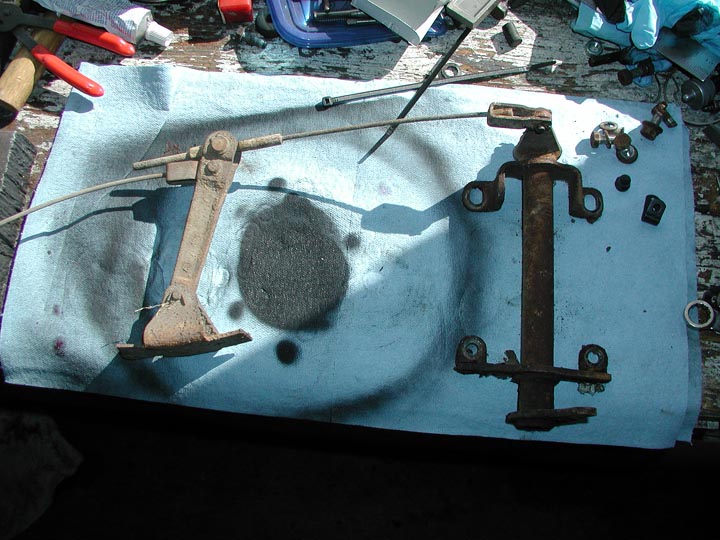 |
|||
| After. I borrowed a friends Harbor Freight sandblasting cabinet and use 70 mesh clean playground sand. Does an excellent job without erroding the metal. Another problem, a PO had opened the battery box to fit a bigger battery, and removed the place where the e-brake goes. So...this couldn't be reinstalled....yet. | 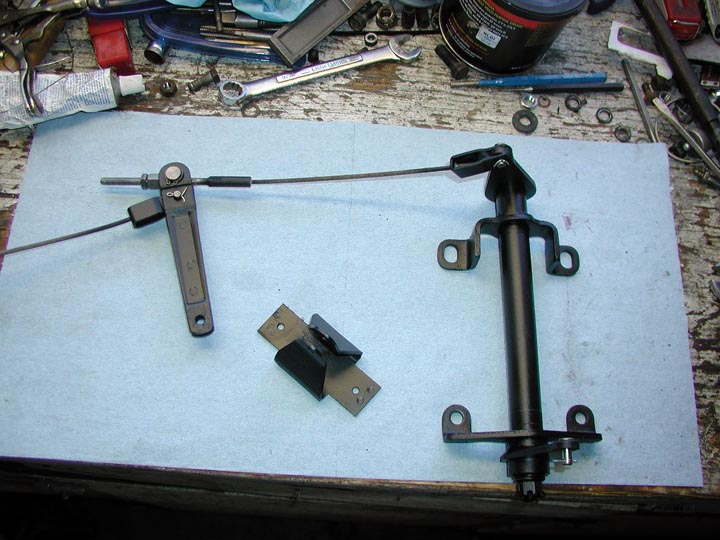 |
|||
| I hadn't finished the "new" fuel tank install at this point, so I lashed a small plastic fuel tank from a garden tractor in the engine bay for a couple test runs. I think it gave the car a nice Mad Max look. |  |
|||
| The car back on the ground with fresh tires. The stock rims were sandblasted and painted. My friend John gave me a set of SS wheel rims which broke up all the black on the rims/wheels nicely. |  |
|||
| The car as it sits as of 11/22/2009. She runs awesome, but there is some slop in the steering. | 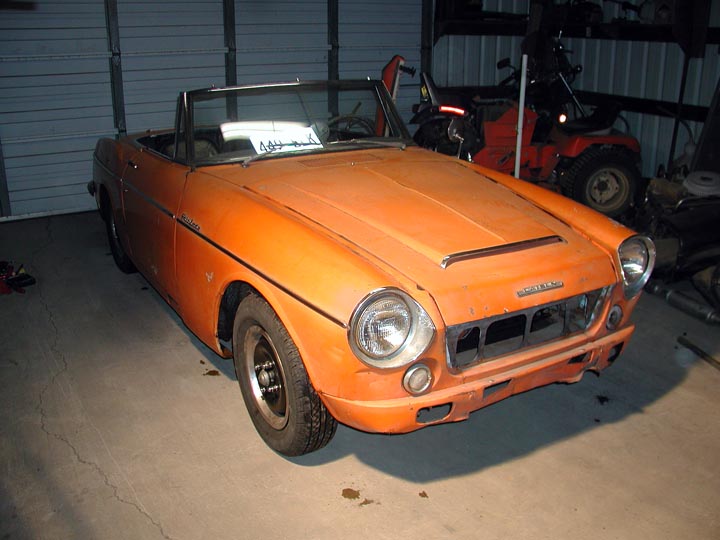 |