|
|
|||
| My "new" Rockwell metal
lathe, model no. 25-100, serial no. 1478908. The lathe can spin
an 11 X 36 inch part over the bed ways. It came out of a school
shop, had VERY little use, and was mainly just collecting dust. As a side note, I have NO source for parts on the Rockwell lathes except for maybe eBay (if you get lucky), and reprints of the manuals can be purchased at http://www.lathes.co.uk. |
 |
|||
| Overall photo of the lathe. | 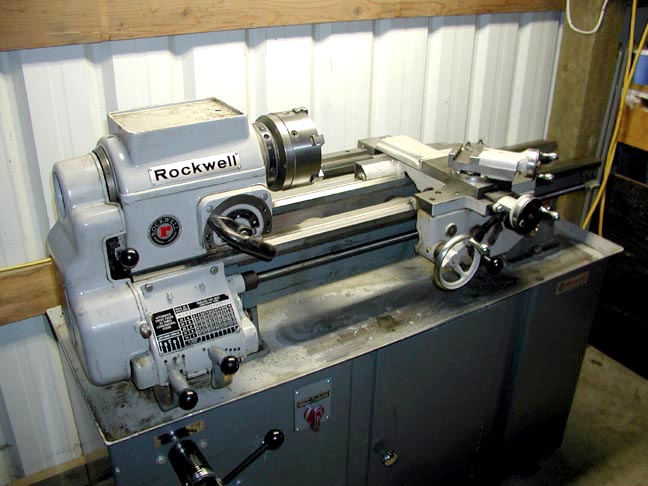 |
|||
| Profile photo of the headstock and carriage. | 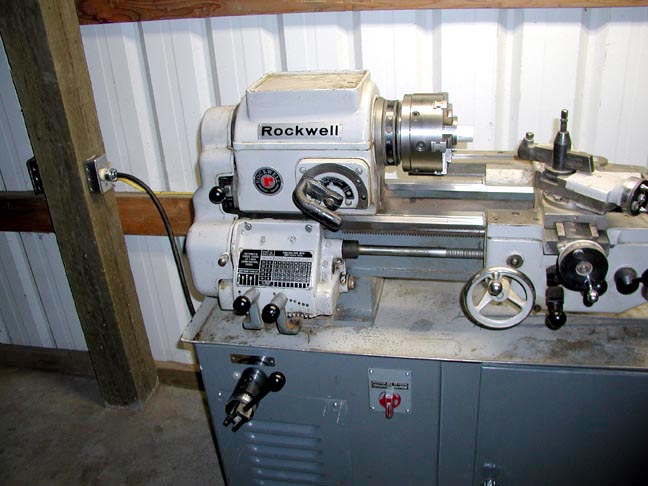 |
|||
| Detail shot of the headstock internals showing the twin belt drive, bull gear for the 6:1 low gear, and the gear select lever. | 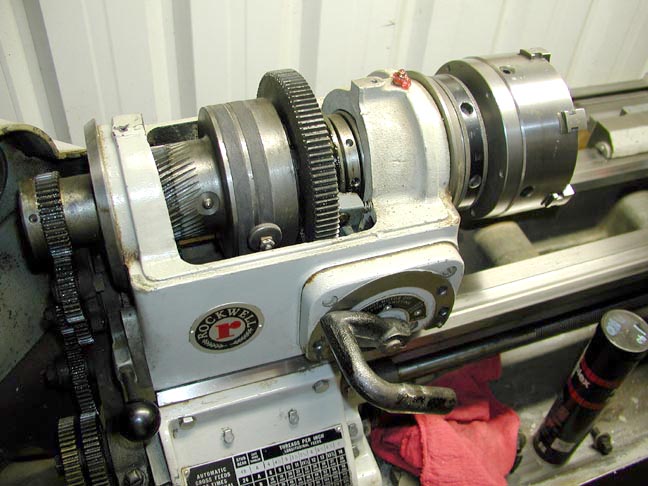 |
|||
| This particular lathe cam with all the available options such as flame hardened ways, taper attachment, and L-00 taper key chuck mounting system. | 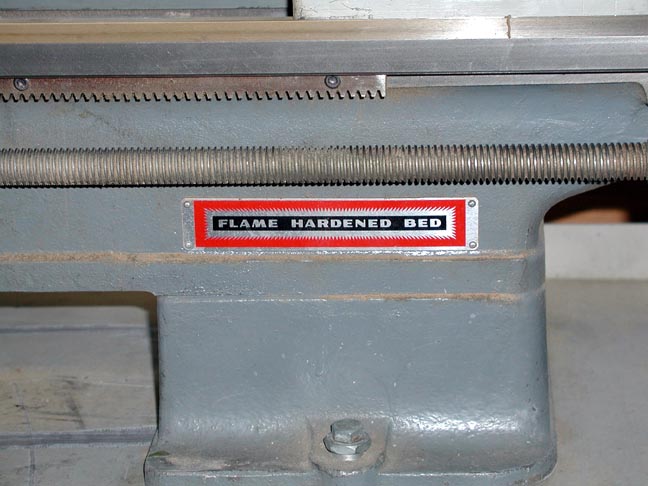 |
|||
| Here is the quick-change gear system for threading and power feed. |  |
|||
| Speed control lever. The lever pulls out at a 45deg angle to release the adjustment and then you move the lever slowly to adjust the speed. Pushing the lever back into the machine at a 90deg angle locks the speed setting. | 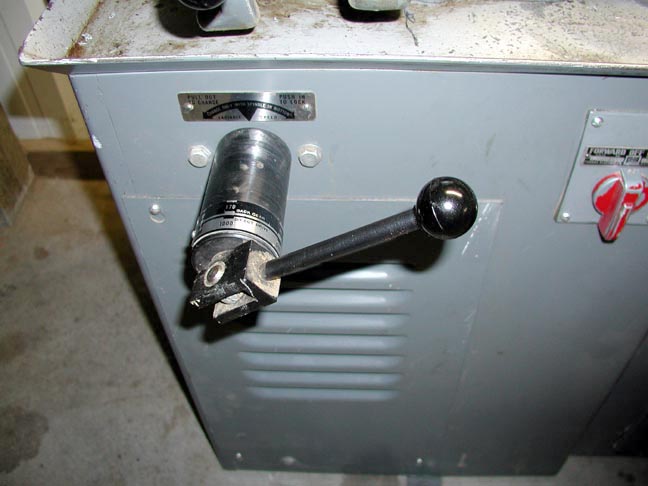 |
|||
| Picture of the lathe just as I got it moved into position. Most of the machine was covered with a lovely mixture of wood dust and a shelac/oil film. WD-40 and 00 steel wool did a great job of cleaning it. One thing I discovered is that NAPA brand carb and choke cleaner disolves the grey paint very quickly, so beware! | 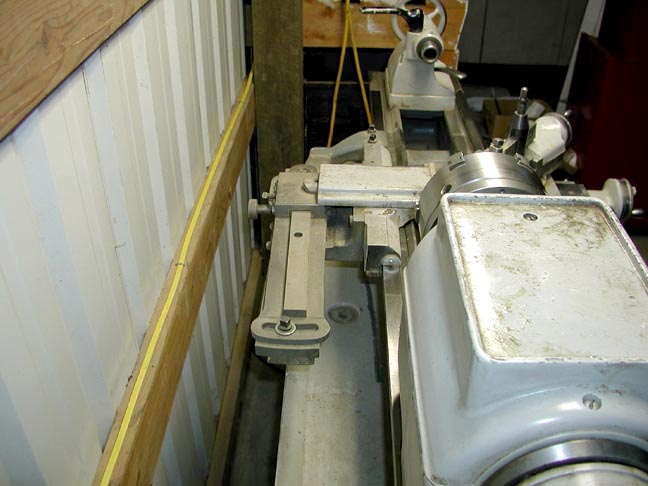 |
|||
| Photo of a portion of the taper attachment as it's going back together. The taper setup was jambed and wouldn't work so I took it all apart and cleaned it. Most of the gibs on the lathe were out of adjustment as well. | 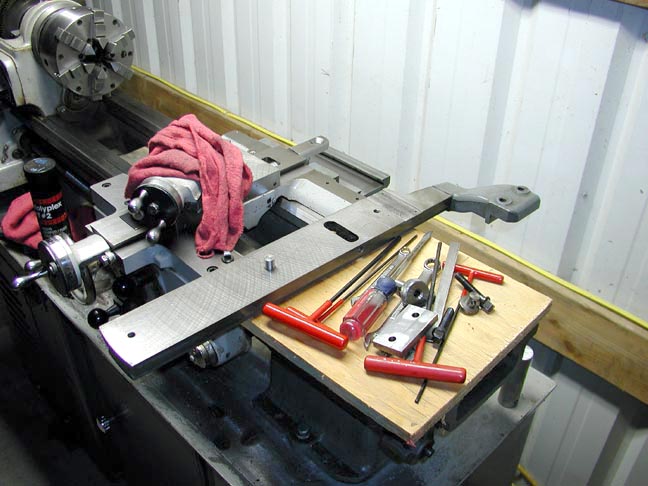 |
|||
| This is what the taper attachment looks like now, all nice and clean. It operates fairly smoothly but seems to bind up occasionally. |  |
|||
| Here is the lubrication chart for the lathe showing lubrication points, frequency of oiling, and what oil or grease to use. | 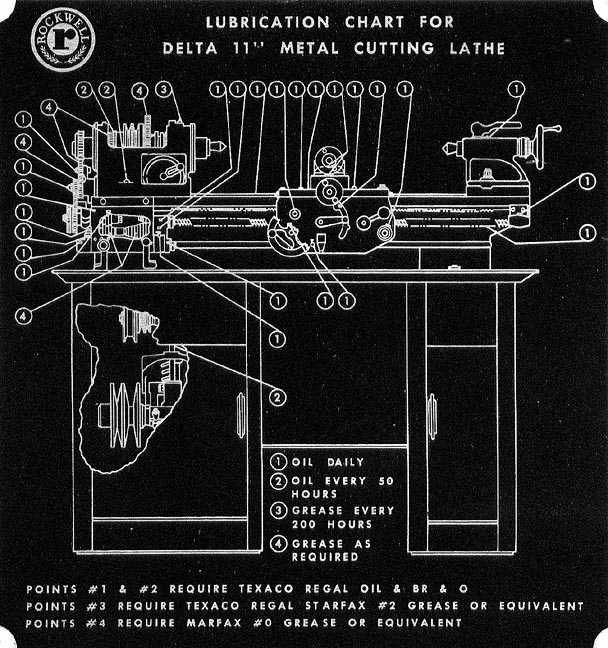 |
|||
| The headstock/spindle with the chuck removed. You can see both the threaded locking collar and the L-00 taper and drive key. The bore of the spindle has a taper to accept collets. | 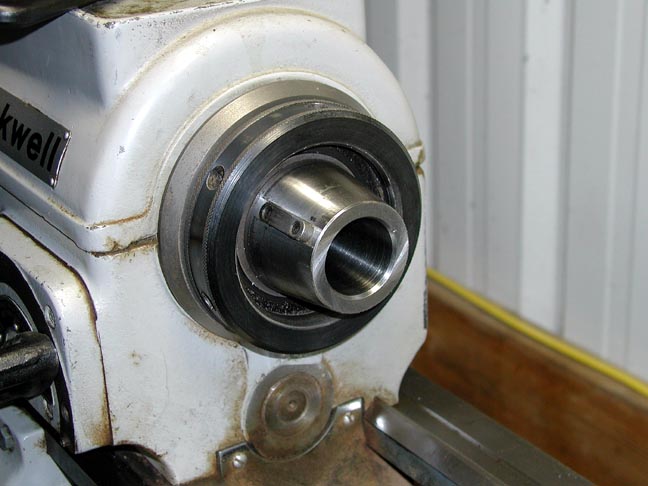 |
|||
| Here's the pin drive wrench I used to remove the chuck. | 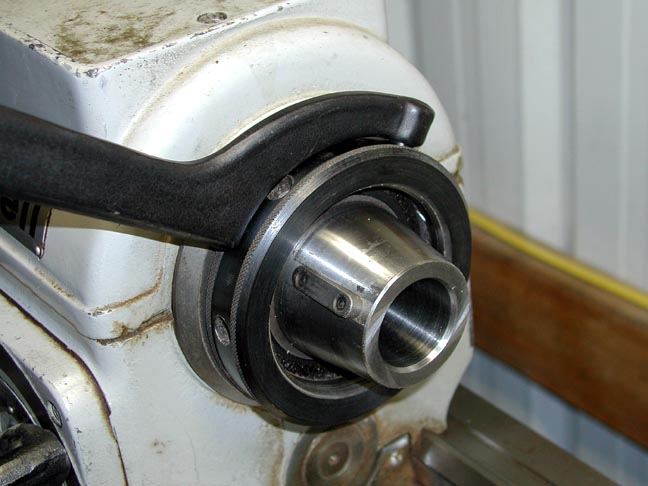 |
|||
| Photo of the spindle with the snap-ring and threaded collar removed for cleaning. | 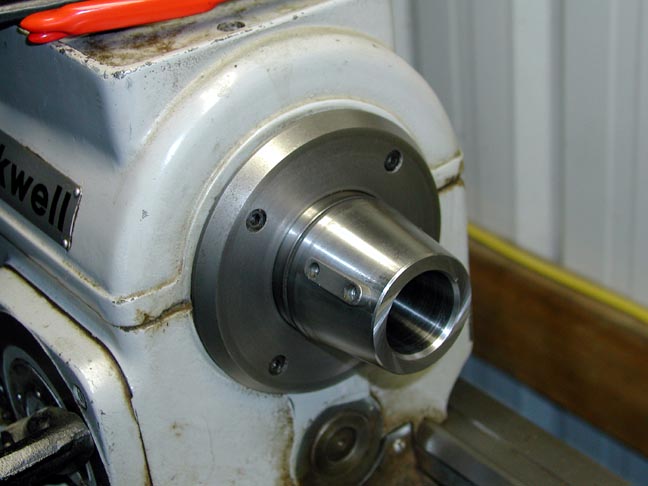 |
|||
| Size comparison on the threaded collar. | 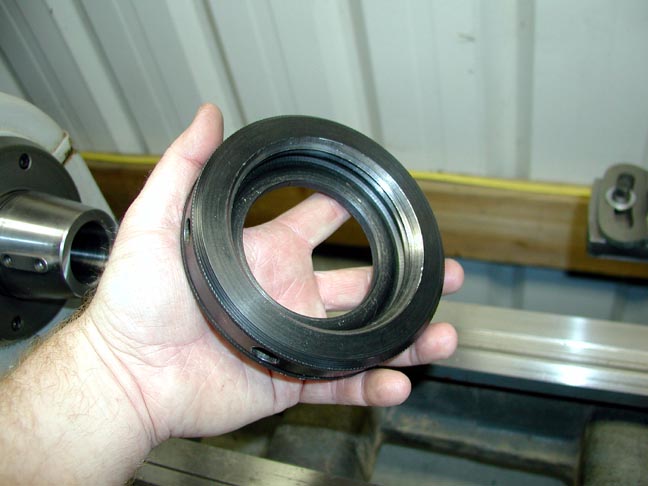 |
|||
| Here you can see the threaded collar on the chuck and the tapered seat and drive key slot. | 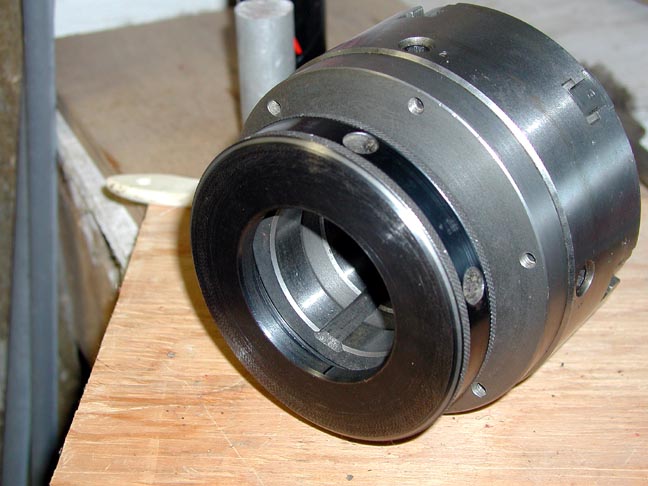 |
|||
| The drive key slot is chipped, as you can see here. It isn't bad enough to affect accuracy though, it's only chipped out at the edge. |  |
|||
| First turning on the new lathe! I had some aluminum scraps around so chucked one up and gave it a whirl. The bits I have are really nasty, not sharpened right, and are almost too small for the tool holder. I need to order some HSS 5/16" bits and a fine grit grinding wheel to sharpen them with. | 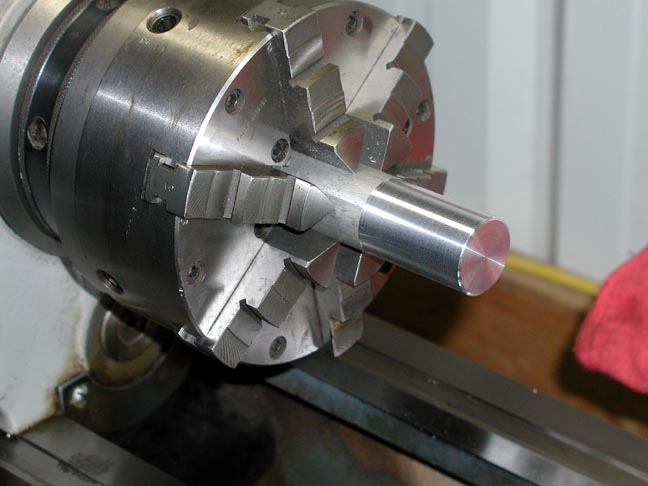 |